Read the rise, not only the clock
Use a recipe's visual and tactile cues alongside its timing instead of treating the timer as a universal instruction.
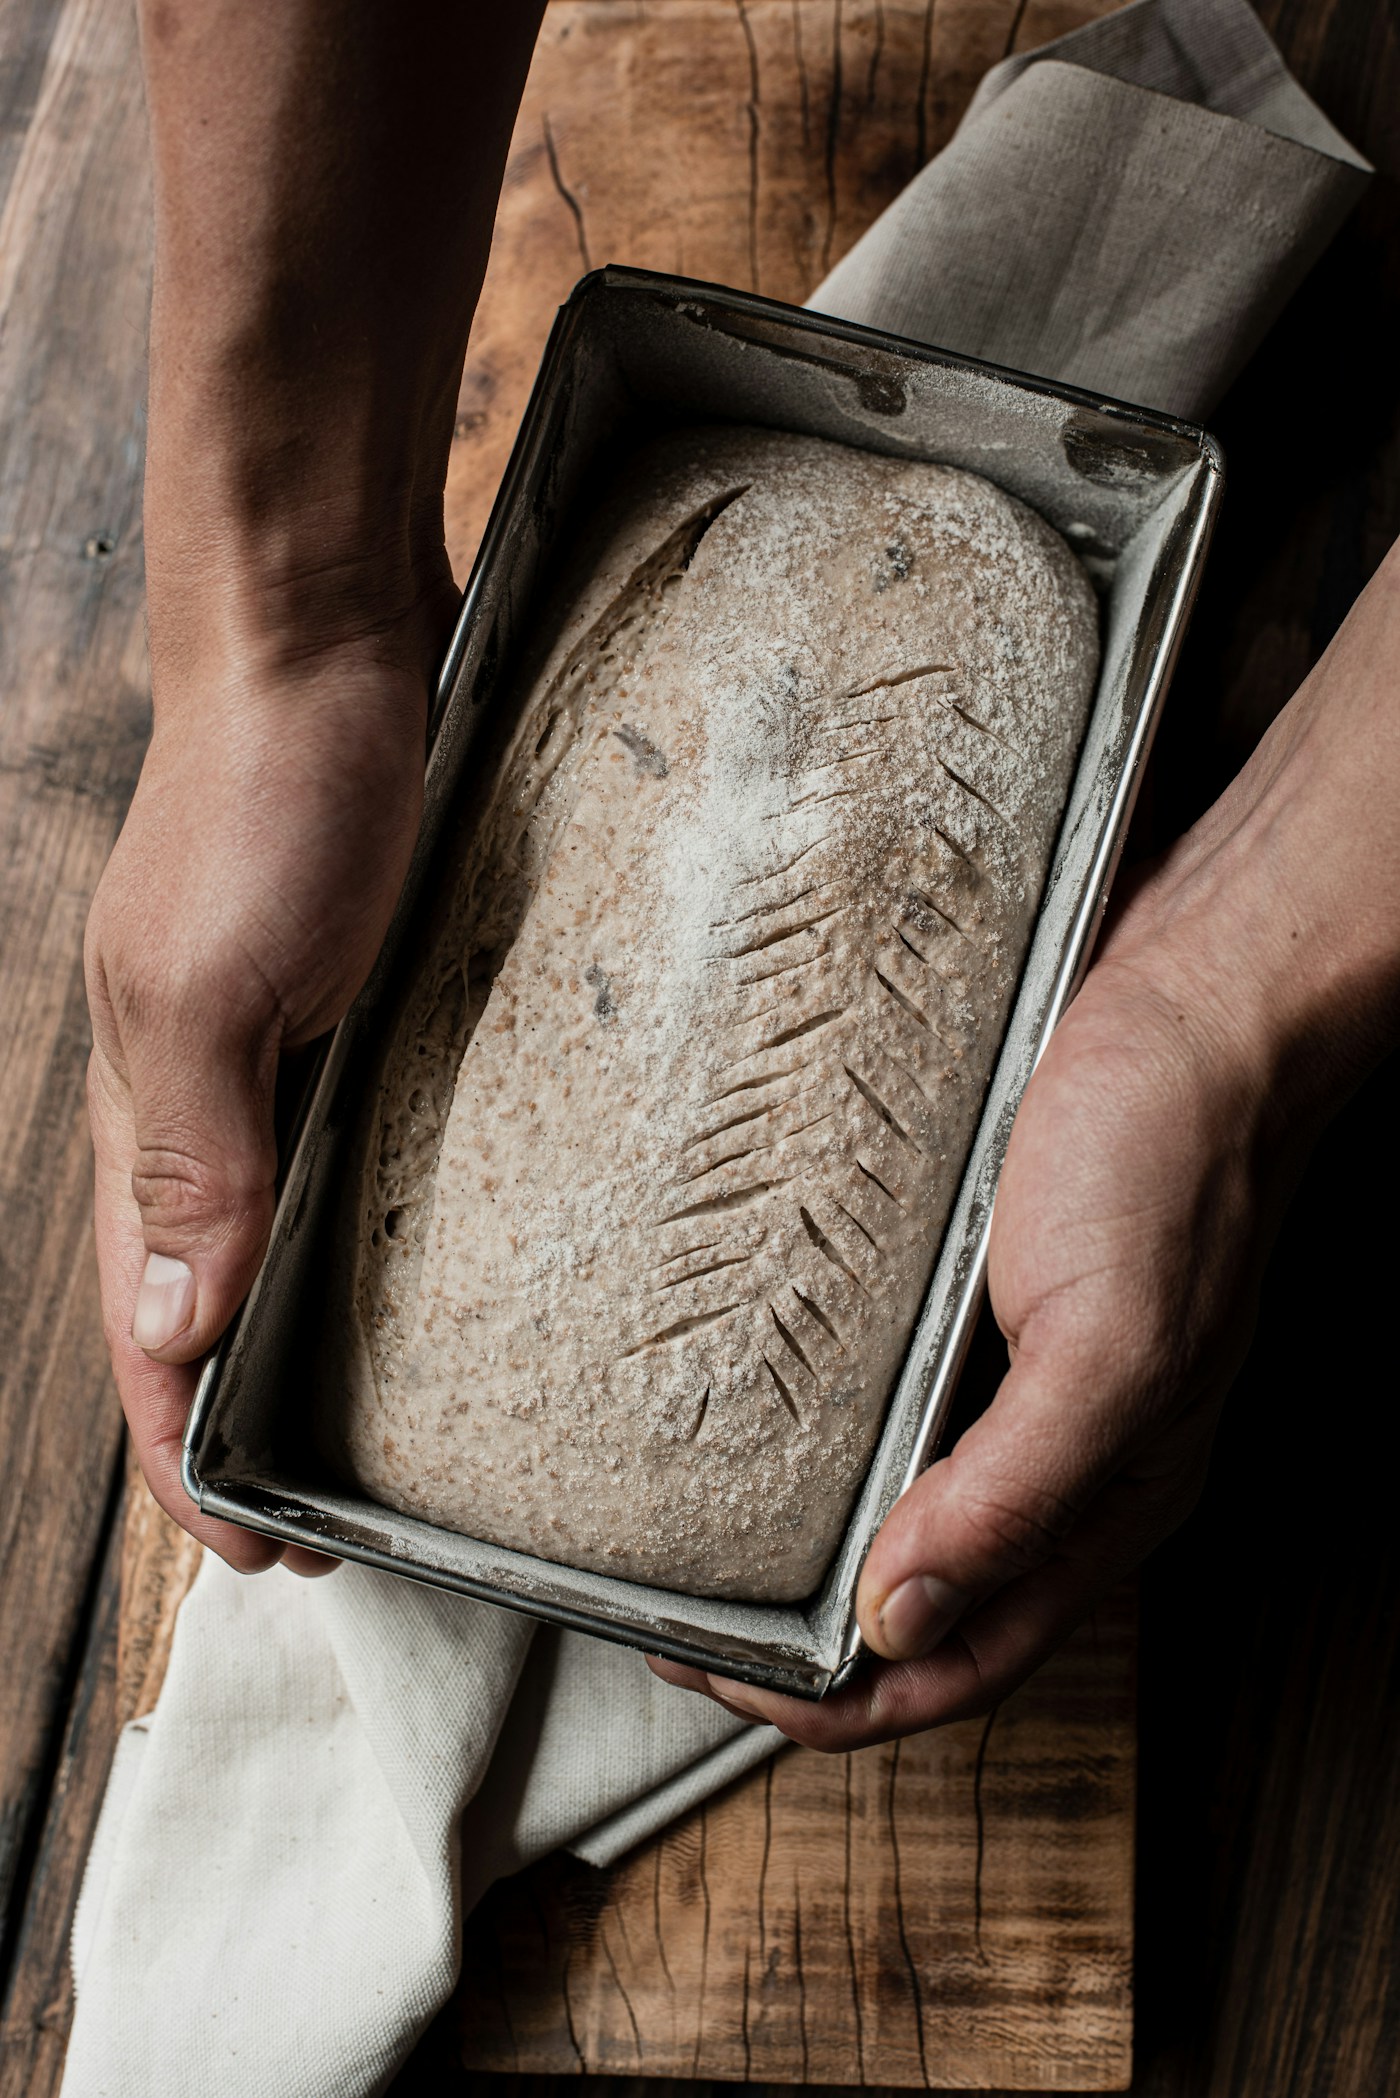
A recipe's rising time is useful for planning, but a timer cannot see your dough. A cool kitchen, a changed ingredient or a different batch size may leave you looking at something unlike the recipe photograph when the alarm sounds. The next step is to read the method's stated cues, not automatically add more yeast or flour.
Find the cue before mixing
Read the complete recipe and identify what it asks you to observe at each rise. It may describe a change in volume, a particular appearance or a test suited to that dough. Write those instructions beside the approximate times so that the clock does not become the only thing you check.
King Arthur Baking describes proofing as the period in which fermenting dough expands as gas is retained within it. Its beginner bread guidance also distinguishes the initial rise from the final rise before baking. Keep those stages separate; the cue intended for one should not be assumed to apply unchanged to the other.
Make change easier to see
Use the container and covering specified by the recipe, or an appropriate equivalent that allows you to observe the dough. If helpful, mark its initial level on the outside of a suitable container with a removable marker. Keep the mark as a reference, not as an instruction to reach a volume the recipe never requested.
Check without repeatedly disturbing the dough. Notice the overall shape and surface described by the method. If you use a tactile test, follow the guidance for that particular recipe rather than treating an internet shortcut as a universal test for all bread.
Record the difference before changing the formula
If the dough appears behind the recipe's expected stage, note the room conditions and the actual elapsed time. Check that you used the intended yeast type and followed its handling directions. Avoid changing several variables mid-bake simply because the printed estimate has passed.
Follow the recipe author's troubleshooting advice for the situation you see. An under-risen dough and an over-risen dough are different questions. A remedy presented for one should not be applied to the other without understanding the method and its limits.
Plan a realistic second attempt
After baking, compare the actual schedule with the recipe estimate. For the next attempt, give yourself more flexibility around the stage that varied, while keeping the formula stable. If the recipe is impractical for your available time, choose a method designed for a different schedule rather than forcing this one into it.
A good first lesson is learning which signs matter in a specific dough. The clock remains useful, but it works beside observation. Together they provide a much clearer instruction than either a rigid deadline or an unstructured guess.
Baking reference: King Arthur Baking: bread guide.